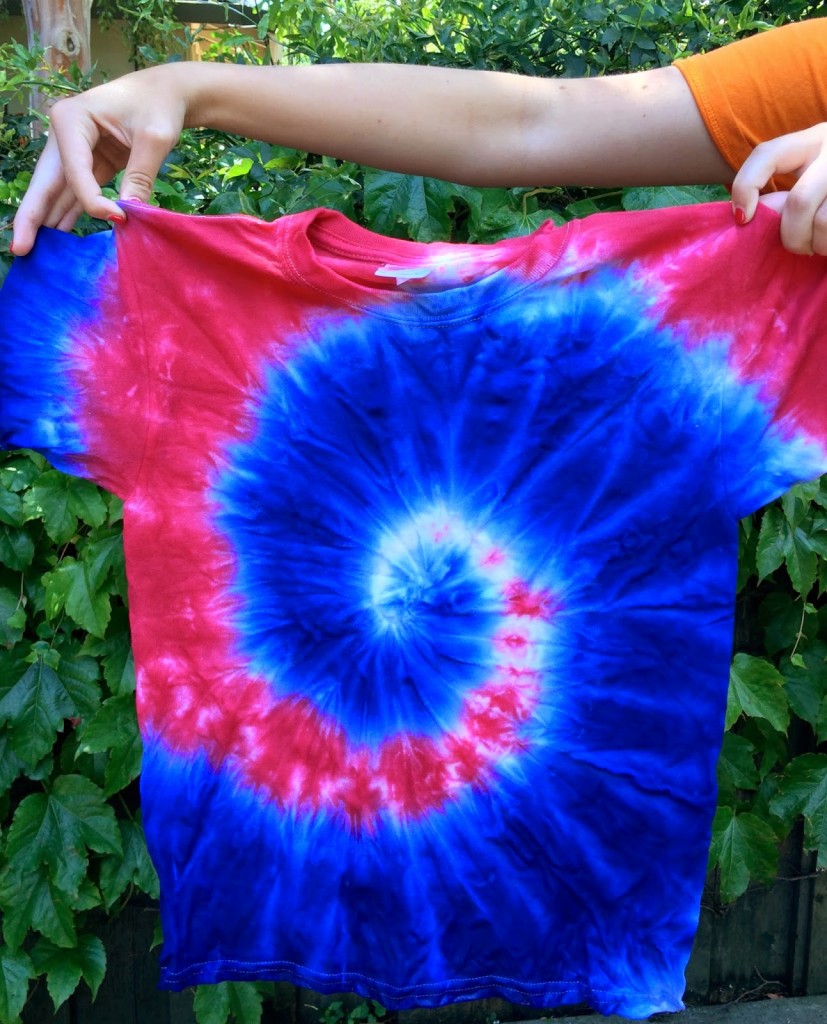
Hey y'all, Happy last day of June and Fourth of July weekend !!! With the holiday creeping up on us and people still staying in but wanting to get some creativity out we've got just the thing for you. Here are some different ways you can TIE DYE anything at home...or maybe even make a Fourth of July outfit for the weekend.
- TIE DYE with DYE--this is the best way to tie-dye if you want it to be bright and BOLD
- Prewash shirt, layout shirt, pinch the middle and twist
- Wrap with rubber bands
- Prepare dye according to the package
- Dip dye one side of your shirt all the way to the middle rubber band (blue)
- Dip dye the other side of your shirt (red) leaving just a small amount of white in between the two dyes. Make sure to leave this or they will combine and make purple!
- Let the shirt dry for a few hours and rinse one color at a time under running cold water.
- Unwrap, reveal the swirl and wear! Once it's dry of course :)

SOURCE: https://www.lacrema.com/perfect-swirl-4th-july-tie-dye/
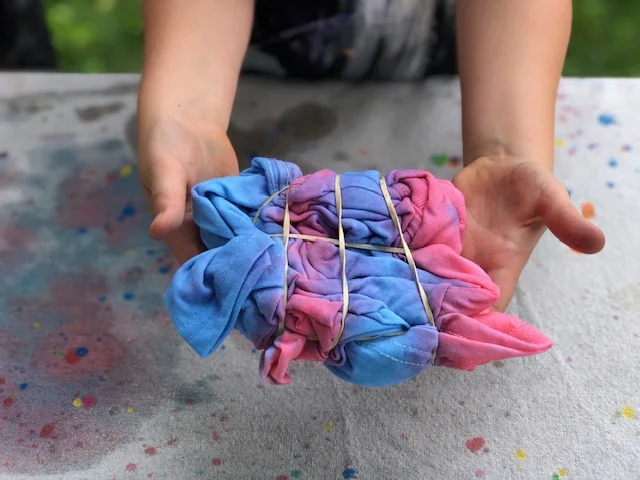
- TIE DYE with FOOD COLORING--This technique gives your shirt much more of a pastel look and these will fade out eventually, it's not completely permanent but looks cute fun and gives it a soft look (picture below)
- Twist your shirt
- First, you want to unfold your t-shirt so it is lying flat in front of you. Then pinch the middle and twist the shirt so it coils into itself.
- Wrap with rubber bands
- Wrap a rubber band around the circumference of the coiled shirt. Then add several rubber bands going the other direction around the shirt so it doesn’t come undone. The method gives the shirt a traditional spiral look.
- Tie-Dye Mixture
- Mix 16 drops of food coloring with 1/2 a cup of water into a squeeze bottle and shake.
- Apply the mixture
- Wherever you'd like on the shirt with however many colors
- Let it sit
- Wrap T-shirt in tight plastic bag, let it sit for at least 12 hours
- WEAR!!!!
- Twist your shirt
SOURCE:https://www.meganplusfive.com/blog/how-to-tie-die-using-food-coloring
- TIE DYE with SHARPIES--this technique is much more of a retro-looking type
- Layout your shirt, make sure there is something (hard surface) in between the front of your shirt and back so the sharpies don't bleed through the back part.
- Take your sharpies and go crazy! Make whatever kind of design you'd like on your shirt (example below)
- Once your designs are completed take a few drops of rubbing alcohol and place them on your designs, they will run into each other and make a tie-dye design
- Let dry and wear!


SOURCE:http://cherryblossom56.com/2012/04/diy-sharpie-tie-dye.html

